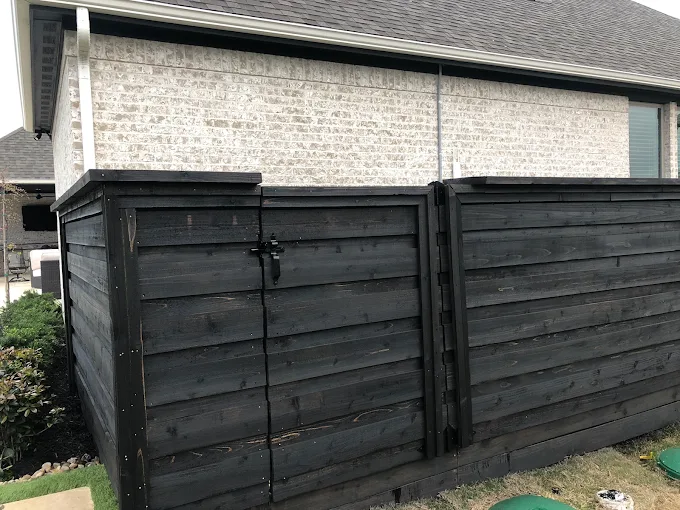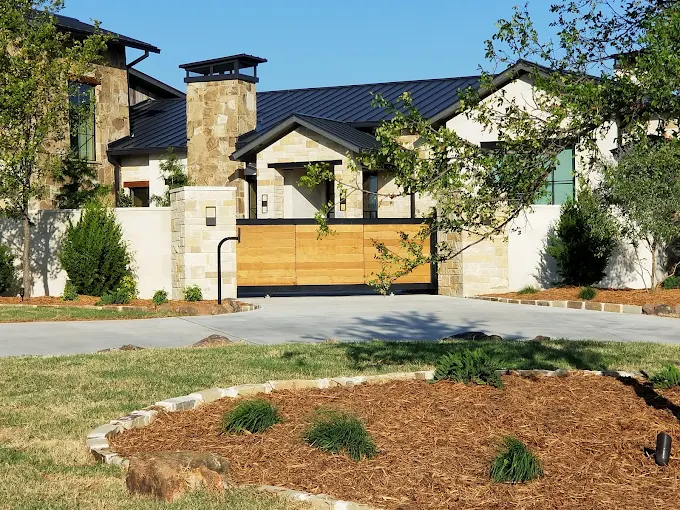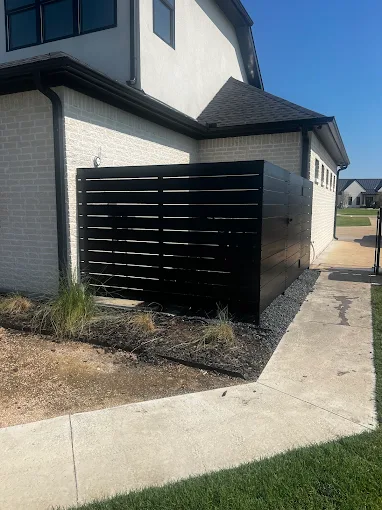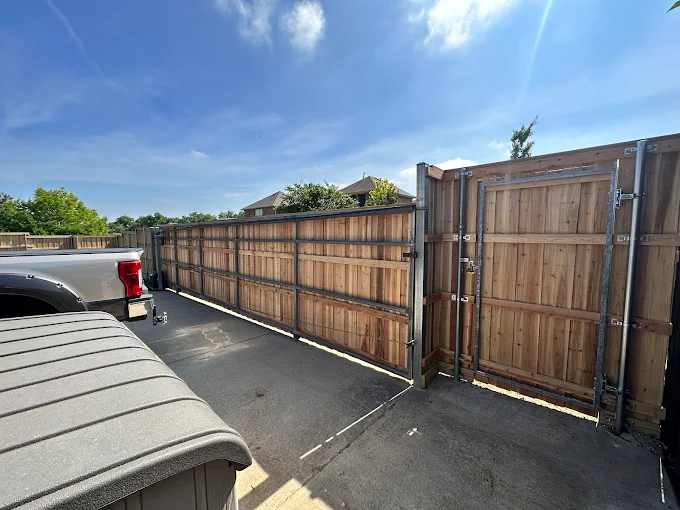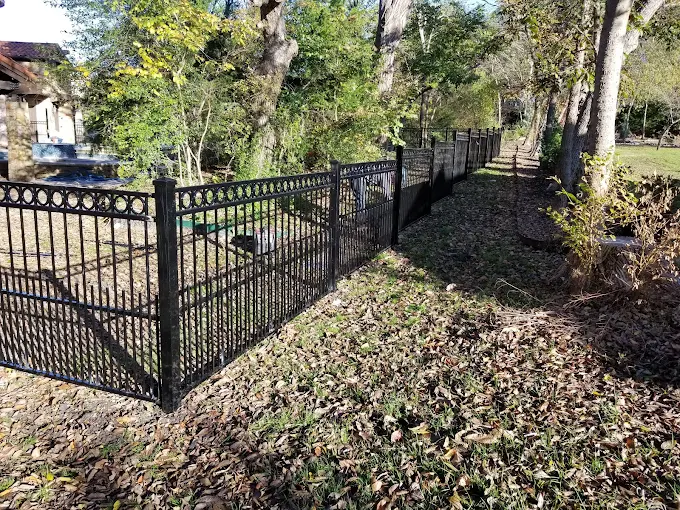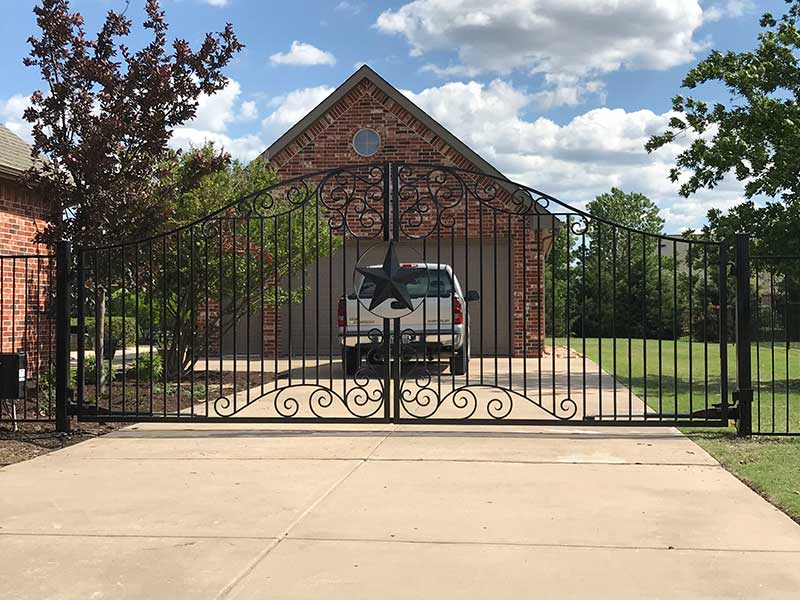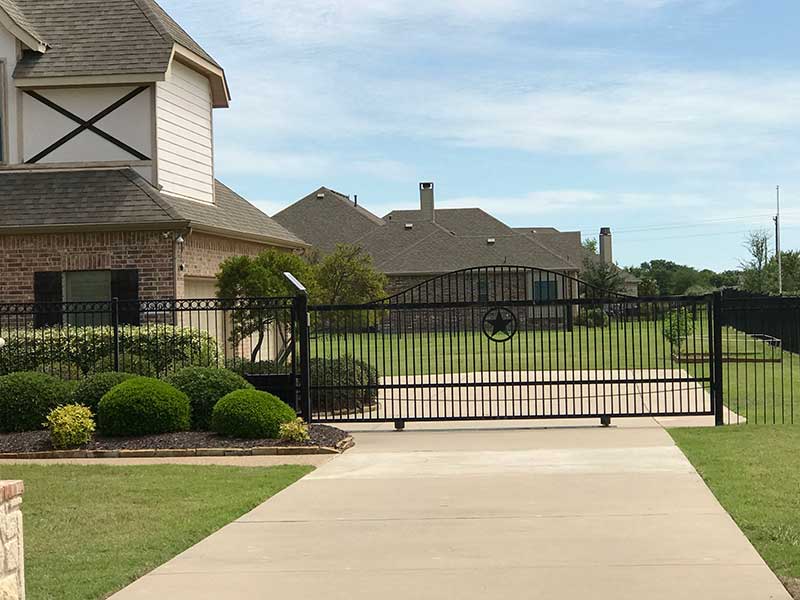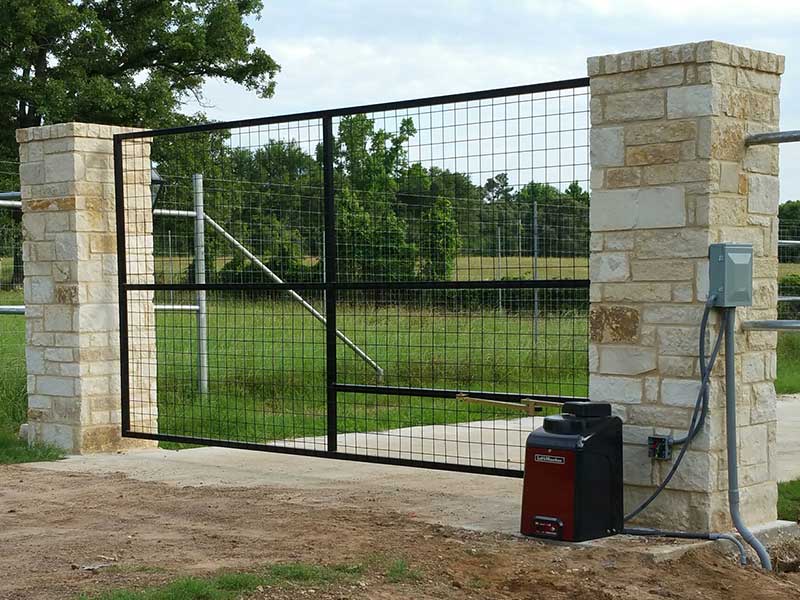

For most narrow driveways, a bi-fold, telescopic, or cantilever sliding gate solves the space problem that a standard swing gate cannot. Your immediate next step: measure your clear opening width, your side run (the wall or fence space beside the driveway), and your driveway depth from the curb to the first parking point, then schedule a site survey with a licensed installer.
Here is the short answer by constraint:
- Zero side run (no wall space beside the drive): a bi-fold or telescopic gate is your only practical no-swing option.
- Short driveway depth under roughly 13 feet: a bi-fold gate folds back on itself and needs far less depth than a swing gate.
- Sloped or uneven ground: a cantilever sliding gate clears the surface entirely, so slope and debris do not bind the mechanism.
- Moderate side run available: a tracked or cantilever sliding gate is the most reliable and lowest-maintenance choice.
Before any installation, confirm your local fire department’s minimum clear opening requirement (many jurisdictions require at least 12 feet for emergency vehicle access. Check whether your municipality or HOA requires a permit. The National Fire Protection Association’s NFPA 1 standard and your local building authority are the governing references for access and setback rules.
Key Takeaways
The right gate for a narrow driveway depends on three measurements: clear opening, side run, and driveway depth, and getting all three right before ordering prevents the most common and costly installation mistakes.
| Point | Details |
|---|---|
| Match gate type to site geometry | Bi-fold for short depth, telescopic for minimal side run, cantilever for slopes. |
| Measure all three critical dimensions | Clear opening, side run, and driveway depth together determine which systems are possible. |
| Check permits and fire access early | Most automated gates require a permit; confirm the 12-foot minimum clear opening with your local fire authority. |
| Semi-open designs reduce visual bulk | Horizontal iron bars or spaced slats make a narrow entrance feel wider without sacrificing security. |
| Easton Fencing provides in-house installation | Custom cedar and iron gates with free site surveys, written estimates, and full insurance across North Texas. |
Table of Contents
- What gate types work best for narrow driveways?
- How to measure your site and which permits to check
- Design and material choices that make a narrow entrance feel open
- Gate operators and safety hardware for tight spaces
- What does a gate installation cost, and how long does it take?
- Should you DIY or hire a licensed installer?
- Maintenance schedule for narrow driveway gates
- What a professional installer checks during a site survey
- What we have learned from tight driveways across North Texas
- Easton Fencing handles the full process, from survey to installation
- FAQ
What gate types work best, for a gate for narrow driveway?
Tracked sliding, cantilever sliding, and bi-folding systems are the three primary space-saving solutions for constrained entrances. Each solves a different site problem, and choosing the wrong one adds cost and frustration.
Bi-fold gates
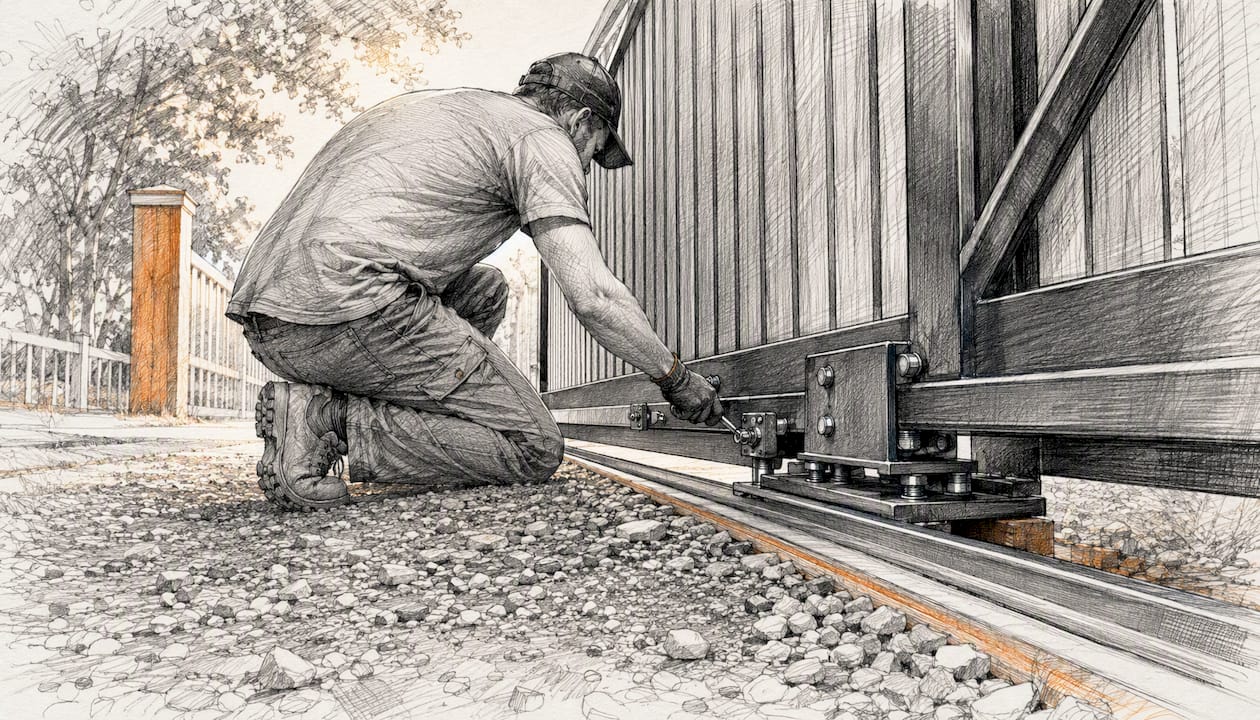
A bi-fold driveway gate divides into two hinged leaves that fold back against the posts rather than swinging into the driveway or out onto the street. Because the leaves fold rather than arc, the gate requires roughly half the opening radius of a conventional swing gate and works well on driveways under about 13 feet deep. The trade-off is a more complex hinge and synchronization system that needs more attention over time than a simple swing or standard slider.
- Best for: short driveway depth, zero side run, urban lots with boundary walls on both sides
- Slope tolerance: moderate (rising hinges help on mild grades)
- Relative cost: medium to high (hardware complexity)
Telescopic sliding gates
Telescopic gates use multiple panels that slide and stack behind each other, collapsing to roughly 35–45% of the full gate width in example installations. That stacking footprint makes them the most space-efficient sliding option when side run is limited but not zero. The synchronized multi-panel drive is the most mechanically complex system here, so professional installation and regular maintenance are non-negotiable.
- Best for: very tight side run, wide openings that need a no-swing solution
- Slope tolerance: low (ground track required in most configurations)
- Relative cost: high
Cantilever sliding gates
A cantilever gate rides on posts rather than a ground track, so it clears uneven surfaces, slopes, and debris without binding. It needs a side run roughly equal to the gate width plus a counterbalance tail (typically 30–50% extra beyond the gate width), but it is the most reliable long-term choice when that space exists. Cantilever is the preferred system on sloped or gravel driveways where a ground track would collect debris.
- Best for: sloped or uneven ground, gravel surfaces, long-term low maintenance
- Slope tolerance: high
- Relative cost: medium to high (post foundations are substantial)
Tracked sliding gates
A tracked slider runs on a ground rail and needs side clearance approximately equal to the gate width plus overrun. It is simpler and less expensive than cantilever but vulnerable to debris, ice, and uneven ground. On a level concrete or asphalt driveway with clean edges, it performs well.
- Best for: level, paved driveways with clean side clearance
- Slope tolerance: low
- Relative cost: low to medium
Swing gates (inward or outward)
A single or double swing gate still works when you have driveway depth and no slope immediately behind the entry point. Inward-opening gates bind on rising drives; rising hinges or a grade change can fix mild cases, but a significant slope usually means switching to a sliding or bi-fold system. Outward swing requires street clearance and is often restricted by local code or HOA rules.
The table below maps each system to the site conditions that determine fit.
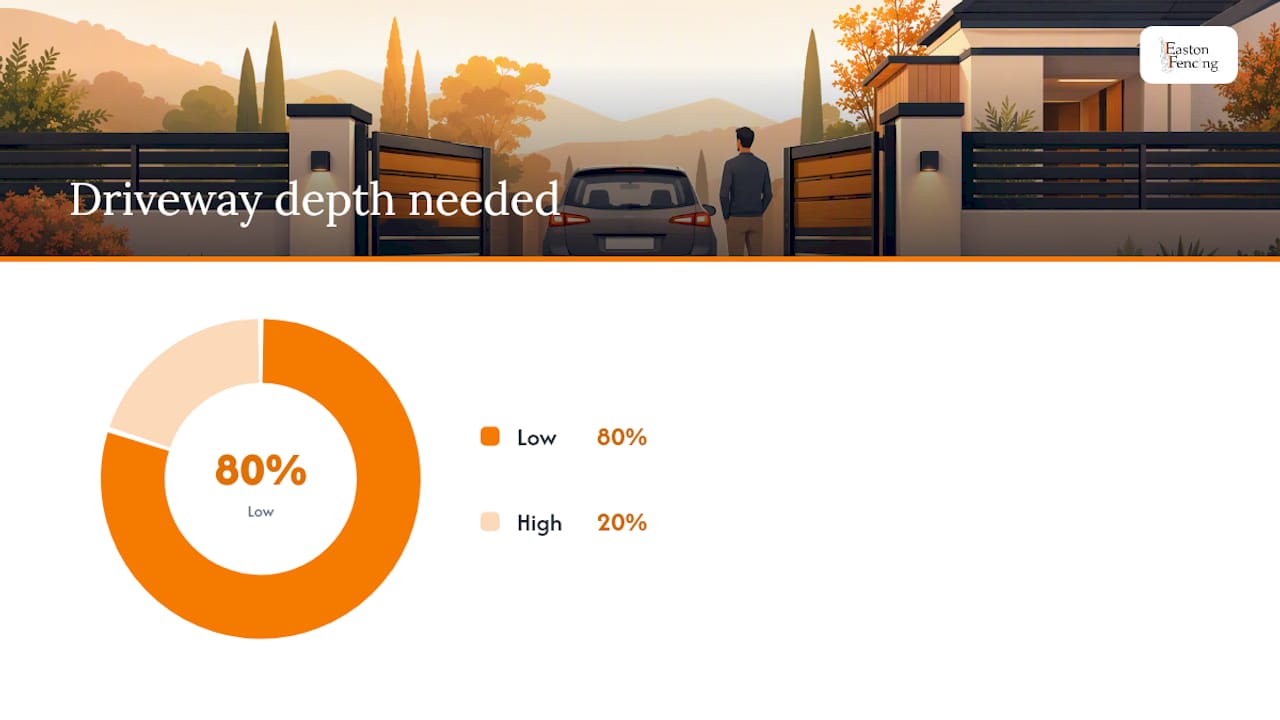
| Gate system | Side run needed | Driveway depth needed | Slope tolerance | Relative cost |
|---|---|---|---|---|
| Bi-fold | Minimal | Low (under ~13 ft) | Moderate | Medium–High |
| Telescopic sliding | Partial (35–45% of width) | Low | Low | High |
| Cantilever sliding | Full width + 30–50% | Low | High | Medium–High |
| Tracked sliding | Full width + overrun | Low | Low | Low–Medium |
| Inward swing | None | High | Low | Low–Medium |
How to measure your site and which permits to check
Getting the measurements right before you call an installer saves you from expensive surprises at permitting or fabrication. The final gate choice depends on opening depth, side run, slope, and daily vehicle use, not just the gap between the posts.
Measurement checklist
Take all of these before your site survey:
- Clear opening width: measure post face to post face (or wall to wall), not the outside of any existing gate frame
- Side run: measure the usable flat wall or fence space beside the driveway on the side where the gate will stack or fold
- Driveway depth: measure from the curb or gate line to the first point where a vehicle parks or turns, at least 20 feet for comfortable queue space
- Slope: note whether the driveway rises or falls immediately behind the gate line, and by how much
- Post/pillar width: existing masonry pillars reduce your clear opening; subtract both pillar widths from the total gap
- Approach turning radius: how much room a vehicle has to straighten before reaching the gate
A practical rule of thumb: single-vehicle gates are commonly 10–12 feet wide, but add 12–16 inches of clearance beyond your widest vehicle for comfortable daily use. A gate sized only to your car’s width will feel tight every single time. Gate for narrow driveway
Stacking and emergency access
Queue area matters. If a vehicle stops at the gate while it opens, you need enough driveway depth behind the gate line so the vehicle does not block the sidewalk or street. Most local fire departments and emergency services expect a minimum clear opening of 12 feet, though some jurisdictions set higher thresholds. Confirm the exact requirement with your local fire authority or building department before finalizing gate width.
Permit and HOA checklist
A pre-installation survey checklist that includes permit documentation prevents delays once fabrication starts.
- Call your municipality’s building department and ask whether a gate or fence permit is required for your address and gate type (automated gates almost always require one).
- Check HOA covenants for height limits, material restrictions, and setback requirements before ordering any materials.
- Confirm utility locations by calling 811 (the national Dig Safe line) before any post or foundation work.
- Request a written site report from your installer that documents measurements, boundary conditions, and proposed foundation specs.
- Verify fire department access requirements in writing from your local authority having jurisdiction (AHJ).
Design and material choices that make a narrow entrance feel open
Homeowners often choose heavy, solid gate panels that make a tight entrance feel even more closed in. Pairing a low wall (roughly 36–44 inches) with a lighter, semi-open gate preserves an open street feel while maintaining security. The visual logic is straightforward: the eye reads the space between the bars or slats, not just the gate itself.
Design strategies that reduce perceived bulk
- Semi-open metalwork: vertical or horizontal iron bars with 3–4 inch spacing let light and sightlines through, making the opening feel wider than it is
- Horizontal slat profiles: aluminum or steel slats with deliberate gaps read as modern and airy rather than solid and heavy
- Mixed materials: a low masonry base topped with open ironwork keeps the visual weight at ground level and opens up the upper half of the entrance
- Lighter colors and finishes: powder-coated light gray or bronze reads less imposing than solid black on a narrow frontage
One visual combination that works well on tight North Texas lots: a 36-inch limestone or brick base with a semi-open wrought iron panel above, finished in a dark bronze powder coat. The ironwork carries the security load while the open pattern keeps the entrance from feeling like a barrier.
Material trade-offs for North Texas conditions
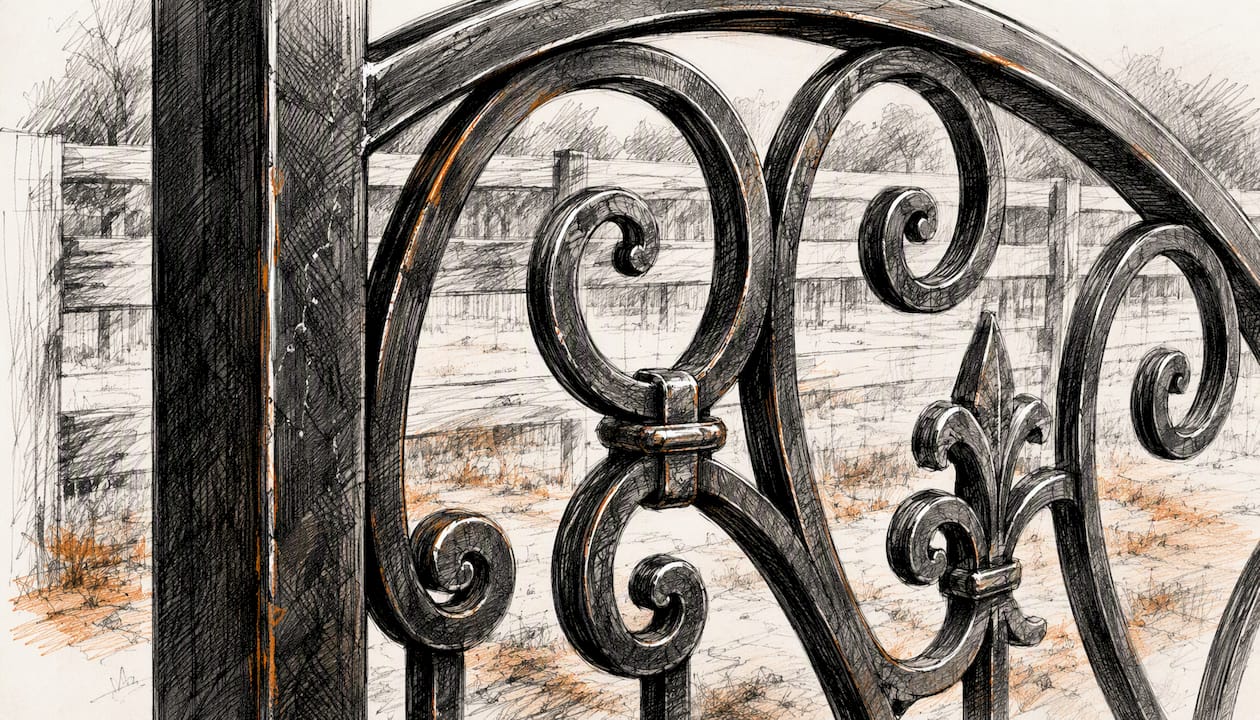
Wrought iron and steel are the most durable choices for the North Texas climate, handling heat, wind, and hail well when properly coated. A hot-dip galvanized base coat under a powder-coat finish resists rust through the region’s humidity cycles. Weight is the trade-off: heavier panels require more substantial post foundations and larger gate operators. You can see the range of wrought iron gate options that hold up in these conditions.
Cedar brings warmth and a natural look, and it performs well in North Texas when properly sealed and maintained. It is lighter than iron, which simplifies operator selection, but it needs annual inspection and periodic re-sealing to resist the region’s UV intensity and moisture swings.
Aluminum is lighter than steel, naturally corrosion-resistant, and holds powder coat well. It suits bi-fold and telescopic systems where reducing panel weight directly lowers operator cost and complexity. The trade-off is lower impact resistance compared with steel.
Gate operators and safety hardware for tight spaces
A narrow driveway does not prevent automation. Electric gates on short or narrow driveways are entirely feasible when you match the operator type to the gate geometry and weight. The automatic gate options available for North Texas properties cover the full range of these systems. These are the best, gate for narrow driveway.
Operator types by gate system
- Bi-fold gates: dedicated folding-arm operator kits that drive both leaves simultaneously through a synchronized linkage
- Telescopic gates: multi-panel synchronization drives that coordinate each panel’s travel speed to prevent binding
- Cantilever and tracked sliders: rack-and-pinion or chain-drive linear operators; cantilever systems need motors sized for the counterbalance weight, not just the panel weight
- Swing gates: underground or above-ground linear actuators; compact underground units work where pillar depth allows
Safety devices that are non-negotiable
Gate operators installed in the U.S. must comply with UL 325, the safety standard for door, drapery, gate, louver, and window operators. Required or strongly recommended safety devices include:
- Photo-eye beams across the gate opening to detect a person or vehicle in the path
- Reversing/edge sensors on the leading edge of the gate panel
- Vehicle loop detectors embedded in the driveway surface to prevent the gate from closing on a vehicle
- Battery backup so the gate opens and closes during a power outage, which is especially relevant during North Texas storm season
Pro Tip: Ask your installer to confirm the motor’s torque rating and duty cycle against your gate’s actual weight and expected daily open/close count. A motor sized for a light aluminum panel will fail prematurely on a heavy iron gate, even if the gate fits the opening perfectly.
Gate weight also determines whether you can use a compact operator or need a full-size industrial unit. Lighter aluminum panels on a bi-fold system often allow smaller, less expensive operators, which is one practical reason to consider aluminum on very tight sites.
What does a gate installation cost, and how long does it take?
Cost and timeline vary significantly by gate type, automation level, and site complexity. The ranges below use generic buckets because final pricing depends on custom sizing, material selection, foundation requirements, and local labor rates.
| Phase | Typical duration | Cost driver |
|---|---|---|
| Site survey | 1–2 hours | Usually free with a licensed installer |
| Permit application | 1–4 weeks | Varies by municipality; fees vary |
| Foundation/civil work | 1–3 days | Slope, soil type, cantilever counterweight |
| Fabrication | 1–4 weeks | Custom sizing, material, finish |
| Installation | 1–3 days | Gate type, automation, electrical hookup |
| Commissioning/testing | Half day | Sensor calibration, safety checks |
Cost buckets by system:
- Manual swing gate (single leaf): low cost; straightforward post and hinge work
- Automated swing gate: medium cost; adds operator, electrical, and safety hardware
- Tracked sliding (automated): medium cost; ground track, operator, loop detectors
- Cantilever sliding (automated): medium to high; substantial post foundations, larger operator
- Bi-fold (automated): medium to high; specialized hardware, synchronization
- Telescopic (automated): high; most complex fabrication and drive system
Common pitfalls that add cost
- Measuring the gap between pillars rather than the clear opening (results in a gate that does not fit)
- Ignoring side-run requirements until after ordering a sliding gate (forces a redesign)
- Undersized foundations for cantilever counterweights (gate tilts or fails within a year)
- Poor drainage planning around a ground track (track fills with debris or water, binding the gate)
- Under-sized motor for gate weight (premature motor failure, often within the first year)
To avoid these: take accurate photos of the full site, provide them to your installer before the survey, and ask for written foundation specifications before signing a contract.
Should you DIY or hire a licensed installer?
The honest answer depends on the gate type and your site conditions. Some tasks are within reach for an experienced DIYer; others carry real safety and structural risk. Be smart and do the research on the best gate for narrow driveway.
Tasks an experienced DIYer can handle
- Installing a single manual swing gate on level ground with existing, sound posts
- Painting or refinishing an existing gate panel
- Replacing minor hardware (hinges, latches, handles) on a manual gate
- Preparing the site (clearing vegetation, marking utilities) before a professional crew arrives
Tasks that require a licensed, insured installer
- Any automated gate system (UL 325 compliance requires professional installation in most jurisdictions)
- Cantilever or telescopic systems with engineered foundation requirements
- Electrical work beyond plugging in a low-voltage operator
- Any gate on a sloped, uneven, or shared-boundary site
- Permit management and inspections
How to vet an installer
- Verify the contractor’s license and insurance certificate before signing anything
- Request a written estimate that itemizes materials, labor, foundation work, and automation separately
- Ask for references from at least two recent gate projects similar to yours
- Confirm the warranty covers both materials and labor, and get the terms in writing
- Ask whether the crew is in-house or subcontracted (subcontracted work often means split accountability on warranty claims)
Red flags: a contractor who skips a site survey, provides a quote over the phone without measurements, or cannot produce a current insurance certificate. Slope, shared boundaries, and required structural posts are all conditions where cutting corners on professional installation creates liability.
For homeowners in North Texas, the local service teams that work the region know the soil conditions, permit offices, and HOA requirements that out-of-area contractors often miss.
Maintenance schedule for narrow driveway gates
A gate that works perfectly on installation day can fail within a year without basic upkeep. The schedule below applies to all gate types; specific items vary by system.
Monthly checks
- Inspect rollers, wheels, and tracks for debris, especially after wind or rain
- Test the gate’s auto-reverse function by placing a soft object in the gate’s path
- Check photo-eye beam alignment (a misaligned beam either stops the gate or fails to detect an obstruction)
Quarterly checks
- Lubricate all moving parts: hinges, rollers, rack-and-pinion teeth, and pivot points with a manufacturer-approved lubricant (avoid WD-40 on tracks; use a dry lubricant or dedicated gate grease)
- Inspect electrical connections and operator housing for moisture ingress, particularly after heavy rain
- Check post and pillar foundations for cracking or movement
Annual checks
- Full paint and coating inspection; touch up any chips or rust spots before they spread
- Tighten all fasteners, particularly after North Texas freeze-thaw cycles in winter
- Test battery backup under load; replace batteries every 2–3 years regardless of apparent condition
- Inspect hinge pins and bearing surfaces on bi-fold systems; these wear faster than swing or slider hardware
Longevity expectations
Powder-coated wrought iron gates typically last 20–30 years with proper annual maintenance. Cedar gates need re-sealing every 2–3 years and may need board replacement after 10–15 years depending on sun and moisture exposure. Operator motors generally last 7–15 years depending on duty cycle and quality; roller bearings and track components on sliding gates are the most common wear items and may need replacement every 5–10 years.
What a professional installer checks during a site survey
A thorough site survey is where expensive mistakes get caught before they happen. Here is what a qualified installer actually does on-site, and why each step matters.
- Measure clear opening, side run, and slope: these three numbers determine which gate systems are physically possible on your site
- Inspect existing post or pillar foundations: undersized or deteriorating foundations cannot carry the cantilevered load of a sliding gate counterweight or the cyclic stress of an automated bi-fold
- Photograph boundary conditions: shared walls, neighboring fences, and utility boxes all affect gate swing arc and operator placement
- Verify underground utilities: calling 811 before the survey is standard practice; a licensed installer will not dig without confirmation
- Check drainage: standing water around a ground track causes corrosion and binding; the survey should identify whether drainage work is needed before installation
- Calculate gate wind loading: North Texas sees significant wind events; a gate panel acts as a sail, and the hinge, post, and operator must be sized for the wind load, not just the gate weight
- Confirm electrical supply: automated gates need a dedicated circuit; the survey establishes whether the existing panel has capacity or whether an electrician must be involved first
A written site report from this process is a genuine trust signal. It shows the installer has done the engineering work, not just eyeballed the opening. Without it, you have no documentation if a dispute arises over foundation specs or gate sizing after installation.
What we have learned from tight driveways across North Texas
Most homeowners who call us about a narrow driveway have already made one of two mistakes: they have measured the gap between their pillars and assumed that is the gate size, or they have decided on a swing gate because it is familiar, without checking whether their driveway depth actually supports one. Both errors are easy to avoid, and both cost real money to fix after the fact.
The most satisfying jobs we see are the ones where a bi-fold or telescopic system opens up a driveway that the homeowner had written off as too tight for any gate at all. A 9-foot urban driveway with a masonry wall on one side is not a lost cause. It is a bi-fold job with a compact operator and a semi-open iron panel, and it looks sharp when it is done right.
What makes the difference is the site survey, not the catalog. Every driveway is slightly different: the slope, the soil, the pillar condition, the HOA rules, the neighbor’s fence line. Easton Fencing’s in-house crews handle every step from survey through commissioning, which means the person who measures your site is accountable for the installation. No handoffs, no subcontractors guessing at specs someone else wrote down.
Easton Fencing handles the full process, from survey to installation
Narrow driveways need custom solutions, not catalog gates. Easton Fencing designs and installs custom cedar and iron gates across North Texas, with every project handled by an in-house crew from the first measurement to final commissioning. No subcontractors means one point of accountability for your permit, your foundation, your operator, and your warranty.

The free site survey covers clear opening, side run, slope, foundation condition, and automation options, giving you a written estimate before any commitment. Whether your site calls for a compact bi-fold, a cantilever slider, or a custom iron swing gate, the team brings 17 years of North Texas installation experience to the job. All work is fully insured, and every project includes a written warranty on both materials and labor.
Request your free estimate at Easton Fencing or explore the automatic gate services to see what is possible on your specific site.
FAQ
What is the best type of gate for a narrow driveway?
A bi-fold or cantilever sliding gate solves most narrow-driveway problems. Bi-fold works where driveway depth is short; cantilever sliding works best on sloped or uneven ground with adequate side run.
What is the minimum width for a driveway gate?
Single-vehicle gates are commonly 10–12 feet wide, but add 12–16 inches beyond your widest vehicle for comfortable clearance. Always confirm the minimum clear opening with your local fire department, as many jurisdictions require at least 12 feet for emergency access.
What are some practical gate ideas for a narrow driveway?
A semi-open iron bi-fold gate, a telescopic slider with horizontal aluminum slats, or a compact cantilever gate with a low masonry base all work well on tight sites. Choosing an open-pattern design prevents the entrance from feeling cramped.
What can you use instead of a traditional swing gate on a tight driveway?
Bi-fold, telescopic, and cantilever sliding gates all eliminate the swing arc that makes standard gates impractical on narrow sites. Each requires different side-run or depth conditions, so a site survey is the fastest way to identify which fits your specific driveway.